Table of Contents
Your Guide to Effective Dental Bridge Cleaning and Maintenance
Effective dental bridge cleaning and maintenance requires daily attention with the right tools and regular professional care to prevent plaque buildup, gum disease, and damage to the supporting teeth. Without daily care, food debris and bacteria accumulate under and around the bridge, leading to decay, bad breath, and even failure of the restoration. That’s why proper cleaning matters, it preserves your smile and your investment.
At Diamond Dental Centre in New Westminster, we see many patients who want to keep their bridges in top condition. This guide outlines exactly what you need: specialized floss, interdental brushes, a simple step-by-step cleaning routine, and the importance of regular dental check-ups. We care about your smile and are committed to providing clear, practical advice. Follow this guide, and you’ll learn how to keep your bridge clean, comfortable, and lasting for years. Let’s start by making sure you have everything you need for a simple, effective cleaning routine.
Key Takeaways
- Before you start cleaning your dental bridge, getting into the habit will be easier if you know what tools you’re going to need to complete this task.
- With a soft-bristle toothbrush at the ready, as well as non-abrasive toothpaste, now you should be able to tackle your bridge.
- The next step will be for you to rinse away any remaining pieces of food in place with the aid of a water flosser.
- After maintaining a daily cleaning routine around your abutment teeth, the next step is to ensure your bridge is inspected professionally on a regular basis.
- Dental bridges also require regular brushing but your oral care efforts need to focus on the problem areas such as hard-to-reach crevices where food particles and plaque can be trapped.
Before You Begin: Tools and Preparation
Before you start cleaning your dental bridge, getting into the habit will be easier if you know what tools you’re going to need to complete this task. Because brushing cannot get into all areas in between and underneath the replacement tooth, the ADA recommends using an interdental cleaner once every day. To make sure that you don’t forget to pick up the items you’ll need for your dental bridge, gather up a couple common household products before you begin your cleaning ritual.
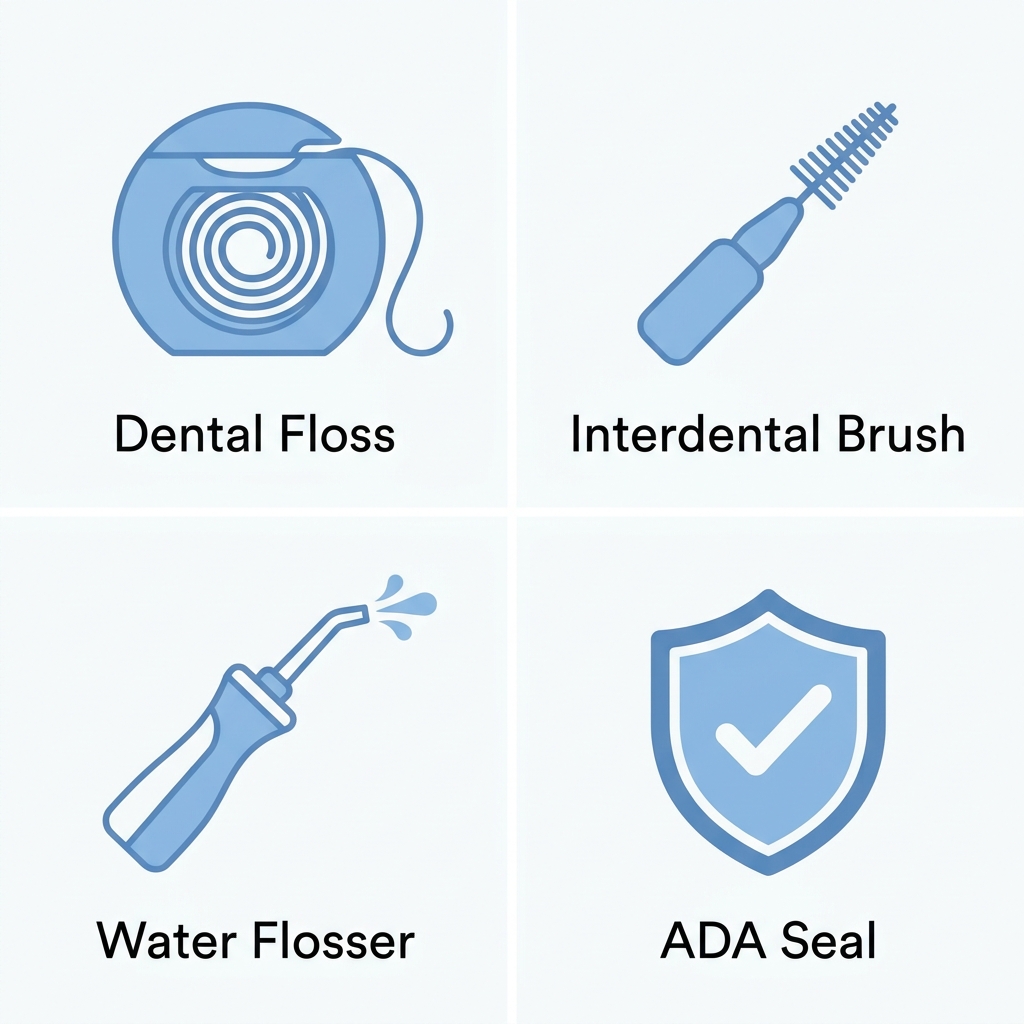
The components that make up a whole at-home kit include flossing products like dental flosses, interdental brushes, as well as water flossers, all made specifically to reach areas in our mouths where we couldn’t get them cleaned using only our toothbrush. Be sure to check out any product’s packaging for its seal of approval from the ADA; it confirms the product has been tested for safety and effectiveness on oral tissues. If you’re unsure whether waxy floss or unwaxed will clean your teeth better, go with whichever kind is easier for you to handle. According to clinical research, both varieties are equally effective at removing plaque. That said, don’t reinsert already used pieces of dental floss back into your mouth, or single-use interdental sticks, since doing so could leave behind some unwanted bacteria.
Once you have all your equipment ready, start out with the brush to scrub down the bridge and clear off any loose debris before going on to separate your teeth.
Step 1: Brush Your Bridge Thoroughly
With a soft-bristle toothbrush at the ready, as well as non-abrasive toothpaste, now you should be able to tackle your bridge. Because a soft-bristle toothbrush helps protect the bridge’s surface and your gums, choose one, paired with a non-abrasive fluoride toothpaste for a gentle yet effective clean. Whether you prefer using a regular old fashioned hand-operated toothbrush or the more popular electric ones, use only a soft-bristled head and apply pressure just moderately.
If you’re brushing over your dental bridge, angle the bristles about 45 degrees towards the gumline, then scrub the sides, insides and tops using tiny circles. Pay particular attention where your dental bridge connects to other teeth. Plaque easily gets stuck there. Just like you clean your own teeth, use the same method to clean the biting surface of this bridge, too, but don’t forget to brush under if possible. When the whole top has been brushed, move on to flossing underneath your bridge, detailed below.
Step 2: Floss Underneath Your Bridge
You should brush as well as floss regularly since you can’t remove all food and bacteria that build up along your crown or from under the pontic of your dental bridge with just a regular tooth brush. The American Dental Association states that interdental cleaning is necessary in order to reduce bacterial growth because brushing will only remove bacteria from your teeth at the surface level.
Here’s how to floss underneath your bridge:
- Thread the floss under the bridge using the threader or brush handle.
- Gently saw the floss back and forth against the underside of the pontic and along the gumline.
- Discard the used floss or brush tip after each session.
Waxed floss or unwaxed will work fine; whatever type you feel more comfortable working with will be better. This product bears a recognized seal of acceptance, which means that it was tested for safety and efficacy. Please perform this cleaning routine twice a day. After flossing, we would recommend using a water flosser to flush out any remaining debris and provide a deeper clean under the bridge.
Step 3: Use a Waterpik to Clean Underneath
The next step will be for you to rinse away any remaining pieces of food in place with the aid of a water flosser. If this is done right, then you should set your own device to an appropriate pressure setting (the gentlest setting may be best), and position the tip of your device at a 45-degree angle to your gum line as you trace the gum line all around your bridge. Allow the water to wash away any food or other bacterial residue without forcing your tip too deep into the mouth. Once again, we suggest using water flossers once each day in order that there is no more debris buildup inside your mouth. Some places are difficult to reach. This method can also stimulate gum tissue, helping you have better oral health on the whole.
For optimal safety and performance, look for a recognized seal of acceptance when selecting a water flosser. If you have questions, our team at Diamond Dental Centre is happy to provide guidance—we offer gentle, judgement-free dental care. With the underside of the bridge clean, attention now turns to the abutment teeth and surrounding gums.
Step 4: Clean Around Abutment Teeth and Gums
It’s something that guidance says needs to be done at least once a day in order to remove any plaque and debris that may have settled under the abutment teeth, the natural teeth that support the bridge as well as on top of them and along the gumline. Toothbrushes can’t clean these areas for you.
We suggest using either waxed or non-waxed floss because according to the ADA, there is no difference in efficacy between them. If the patient has a larger space around abutments, interdental brushes can offer an excellent alternative. Patients should look for products that bear the ADA Seal of Acceptance, indicating that it’s been determined safe and effective for use on teeth.
Remember to discard floss or single-use interdental cleaners after each session to prevent bacterial transfer. Our team follows that guidance. Consistent home care, including this step, combined with regular professional checkups, helps protect your bridge and maintain healthy gums.
Step 5: Schedule Regular Professional Checkups
After maintaining a daily cleaning routine around your abutment teeth, the next step is to ensure your bridge is inspected professionally on a regular basis. We generally recommend a dental checkup every six months for all patients, and this is especially important for those with a dental bridge.
During this exam, we’ll check the condition of the bridge itself, including whether there are any cracks in it, how tightly everything fits together, if anything looks worn out or damaged, and make sure that the gum tissue isn’t inflamed near where you have bridgework. The hygienist cleans off all those things that get stuck between the pieces of your bridge underneath and around them–and she can’t clean these areas at home with brushing and flossing alone!
Located at our office, 129 E Columbia St, Unit 103 in New Westminster. No matter how much you may try to take care of it yourself alongside professional treatments, there are still some things that might pop up from time to time. By knowing what problems should be fixed before they turn into bigger ones, you will help keep your bridge in top shape. Call today to book a preventive examination.
Troubleshooting Common Bridge Maintenance Challenges
Dental bridges also require regular brushing but your oral care efforts need to focus on the problem areas such as hard-to-reach crevices where food particles and plaque can be trapped. According to that guidance, brushing won’t get rid of everything. Daily interdental cleaning is essential for preventing decay and gum irritation around a bridge.
Common challenges and practical solutions include:
- Food trapped under the bridge: Thread floss under the pontic using a floss threader or super floss, then gently clean the underside and both sides of the abutment teeth. Clinical guidance notes that waxed and unwaxed floss are equally effective, so you can choose whichever glides more easily around your restoration.
- Plaque along the gum line: An interdental brush sized for your space can dislodge biofilm that floss may miss, especially where the bridge meets the gums. Discard the brush after each use, as reusing it can reintroduce bacteria into your mouth.
- Persistent gum irritation: After cleaning, a fluoride or antimicrobial rinse recommended by your dental team can soothe tissues, but the root cause is usually inadequate daily interproximal cleaning.
By making the above mentioned procedures a regular part of your day, you’ll help make sure that your mouth stays comfy and strong. If you’re having issues with certain spots, or if you want us to show you how something is done, come see us next time you visit us our clinic in New Westminster for some on-the-ground assistance.
Your Path to a Healthy, Long-Lasting Dental Bridge
A consistent dental bridge cleaning and maintenance routine is your best investment in its longevity. Daily cleaning with floss threaders or a water flosser, combined with regular professional exams, keeps your bridge and surrounding teeth healthy for years. This simple habit of removing plaque from beneath the bridge and around the anchor teeth prevents decay and gum disease. At our clinic in New Westminster, our team provides personalized guidance: we can demonstrate proper flossing techniques and recommend the right tools for your mouth. Regular checkups allow us to monitor the fit, check the stability of the bridge, and catch any early signs of trouble. With our modern technology and supportive approach, you’ll feel confident about your bridge’s future. We invite you to visit us at 129 E Columbia St, Unit 103, in New Westminster, or call (604) 449-7689 to schedule a personalized bridge care consultation.
Schedule Your Bridge Checkup Now
Now that you’ve learned the essential steps for proper dental bridge cleaning and maintenance, from brushing technique to using a Waterpik, it is time to put that knowledge into practice. Regular professional checkups are the critical next step to detect any issues early and ensure your bridge lasts for years. Our team provides thorough examinations and gentle cleanings tailored to bridge care. Schedule your next appointment online or call (604) 449-7689. Combining your daily home care with professional oversight will protect your investment and your smile. Take the next step toward a healthy, long-lasting bridge today.
Schedule Your Bridge Checkup Now